Easy Amigurumi Crochet Pattern: Materials & Yarn Guide
This squishy little friend rests comfortably in the palm of your hand, offering a firm and smooth surface that feels quite sturdy to the touch. It serves as an accessible starting point for anyone wanting to learn the rhythm of rounds or the control of tension required for shaped items. Whether you are crafting a quick handmade gift for a friend or building a collection of small desk companions, the process remains remarkably steady and meditative. You will learn how to select the right weight of yarn and manage essential notions to create a clean, professional finish every time you stitch.
Why You Will Love This Pattern
This beginner-friendly project works up quickly using basic amigurumi techniques, making it an ideal choice for using up small amounts of leftover yarn. The construction relies on continuous rounds, which creates a smooth finish without visible seams or awkward transitions. Because this item requires minimal shaping, it serves as a relaxing, repetitive project for those who enjoy mindless stitching while listening to a podcast or audiobook. Experienced makers appreciate the pattern for its portability, as you only need a single hook and a small amount of stuffing to complete the piece during travel.
I finished this in one afternoon while watching TV. The instructions were very easy to follow and the final shape looks exactly like the photos.
— Sarah, amigurumi hobbyist
Pattern Overview & Skill Level
- Skill Level: Beginner
- Approximate Time: 1 to 2 hours
- Construction: Worked in continuous rounds using a magic ring start, with simple increases and decreases to shape the body
- Finished Dimensions: Approximately 4 inches tall
Materials & Supplies Needed
- Yarn: Worsted weight #4 cotton or acrylic, approximately 30 yards in your chosen color
- Hook Size: 3.75 mm / F-5
- Notions: Polyester fiberfill stuffing, stitch markers, tapestry needle, and scissors
- Safe Yarn Substitutions: You can use DK weight yarn with a 3.25 mm hook for a smaller, denser finish, or bulky weight yarn with a 5.0 mm hook for a larger, softer toy. Adjusting yarn weight will change the final size of the item.
Stitch Guide & Abbreviations (US Terms)
- MR: Magic Ring
- ch: Chain
- sc: Single crochet
- inc: Increase (work 2 sc into the same stitch)
- dec: Decrease (invisible decrease; insert hook into the front loops of the next 2 stitches, yarn over, pull through, yarn over, pull through both loops on hook)
- sl st: Slip stitch
- st/sts: Stitch/stitches
Step-by-Step Pattern Instructions
Body
- Rnd 1: Start 6 sc in MR (6 sts)
- Rnd 2: Inc in each st around (12 sts)
- Rnd 3: [Sc in next st, inc in next st] 6 times (18 sts)
- Rnd 4: [Sc in next 2 sts, inc in next st] 6 times (24 sts)
- Rnd 5: [Sc in next 3 sts, inc in next st] 6 times (30 sts)
- Rnds 6–12: Sc in each st around (30 sts)
- Rnd 13: [Sc in next 3 sts, dec] 6 times (24 sts)
- Rnd 14: [Sc in next 2 sts, dec] 6 times (18 sts)
Stuffing and Finishing
- Fill the body firmly with fiberfill stuffing, ensuring the base remains flat.
- Rnd 15: [Sc in next st, dec] 6 times (12 sts)
- Rnd 16: Dec 6 times (6 sts)
- Fasten off, leaving a 6-inch tail. Use the tapestry needle to weave the yarn through the front loops of the remaining 6 stitches and pull tight to close the opening. Weave in the end securely inside the body.
Care & Washing Instructions
- Hand wash the item in cool water with a mild detergent to prevent the stuffing from shifting.
- Lay the piece flat on a clean towel to air dry, turning it occasionally to ensure even evaporation.
- Gently reshape the piece with your hands while damp to restore its original form.
Pro Tips & Common Mistakes to Avoid
- Maintain tight tension throughout the rounds to ensure the fiberfill stuffing does not show through the gaps between stitches.
- Always place a stitch marker at the start of every round to keep track of your progress and avoid losing your place in the count.
- Weave in your yarn tails by running them back and forth through the interior of the piece several times, then snip the remaining end close to the fabric to keep it hidden.
- If you choose to scale the project up by adding more increase rounds, note that you will need significantly more yarn and should increase the amount of stuffing accordingly.
Frequently Asked Questions
Can I use a different yarn weight for this pattern?
Yes, you can use any weight of yarn, but be sure to pair it with an appropriately sized hook. A smaller hook than the yarn label recommends will create a tighter fabric, which is ideal for preventing stuffing from poking out.
Is this pattern suitable for someone who has never crocheted before?
This is an excellent project for beginners because it only requires single crochet and basic shaping techniques. The repetitive nature of the rounds allows you to build muscle memory quickly.
How do I keep my stitches from becoming too loose?
Try holding your yarn with slightly more tension or using a hook size smaller than what is recommended on the yarn label. A smaller hook is the most reliable way to achieve a dense, professional finish on 3D objects.
Am I allowed to sell the items I make from this pattern?
You are welcome to sell finished items created from this pattern. Please credit the designer when listing your items online and use your own original photographs for your shop listings.
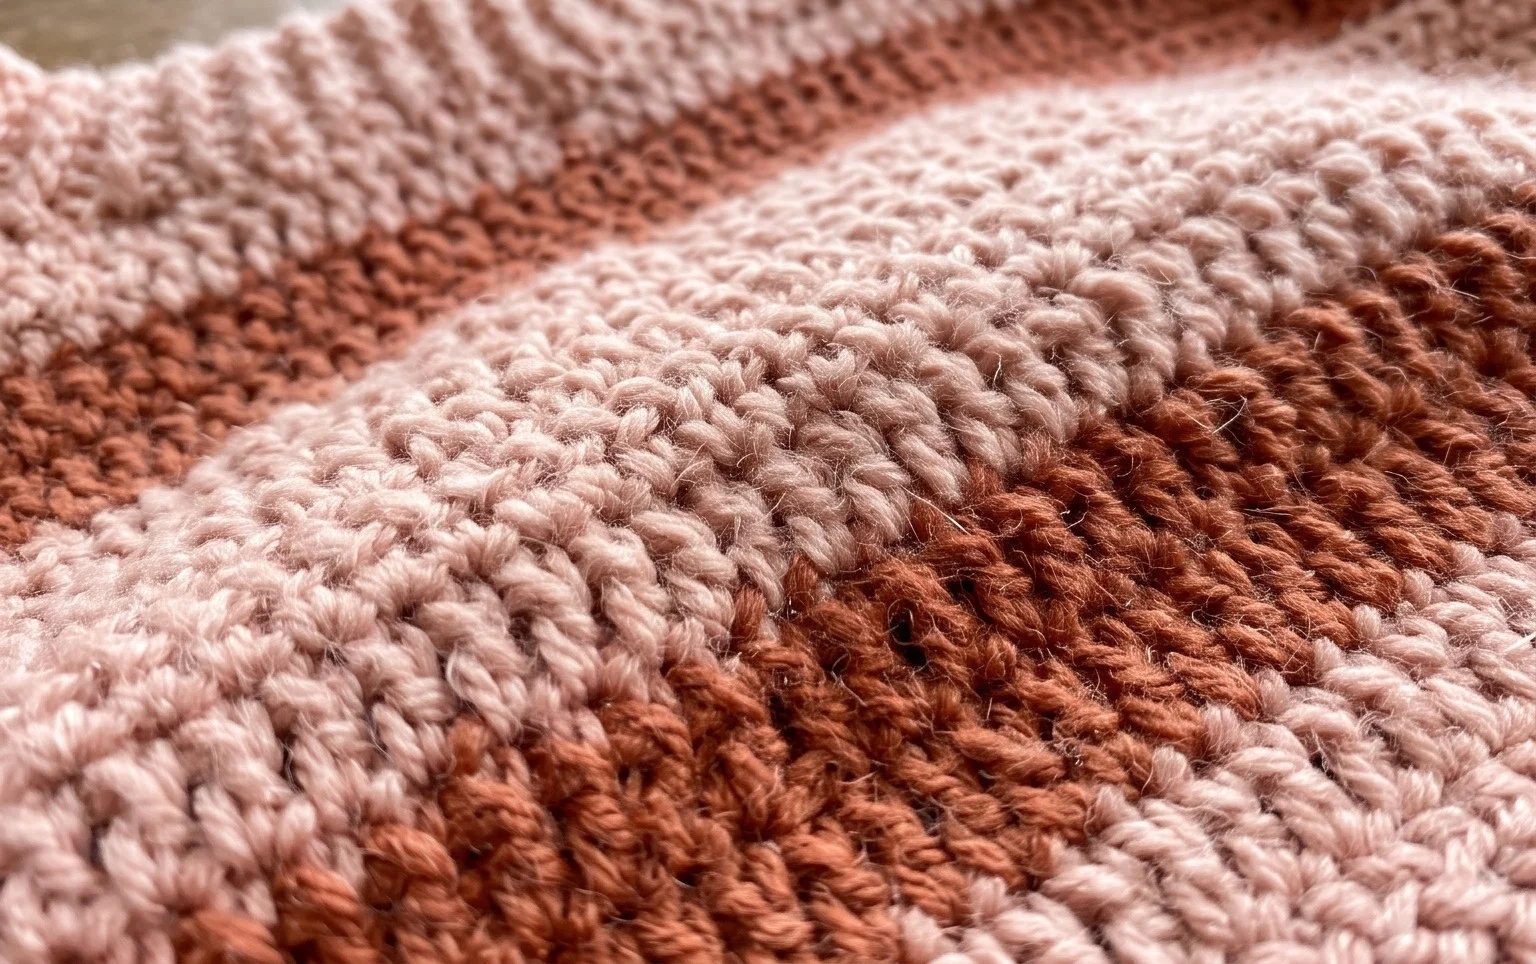
Watching your finished piece come together offers a genuine sense of accomplishment after a quiet afternoon of work. You might try crafting your next one in a bright variegated yarn to see how the color changes affect the overall look of the stitches. Sharing your photos on your favorite social media site helps other makers see what is possible with simple supplies. Please check the rest of the blog for more free patterns that rely on these same reliable materials and basic, repetitive techniques for your home crafting stash.