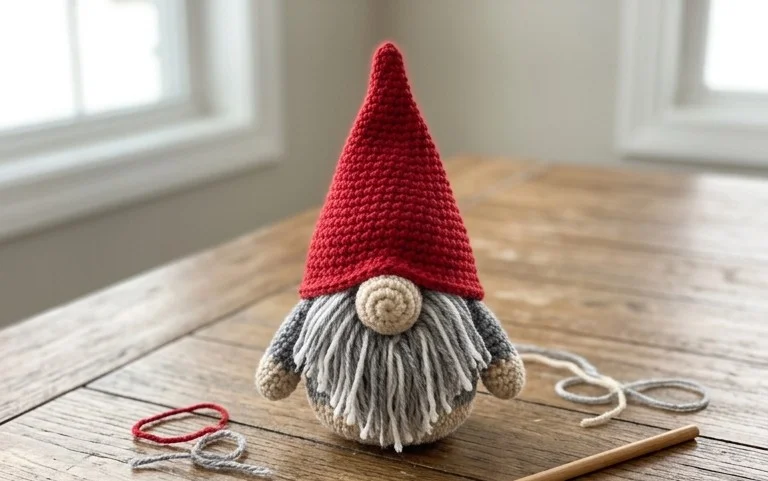
Easy Holiday Garland Free Crochet Pattern for Beginners
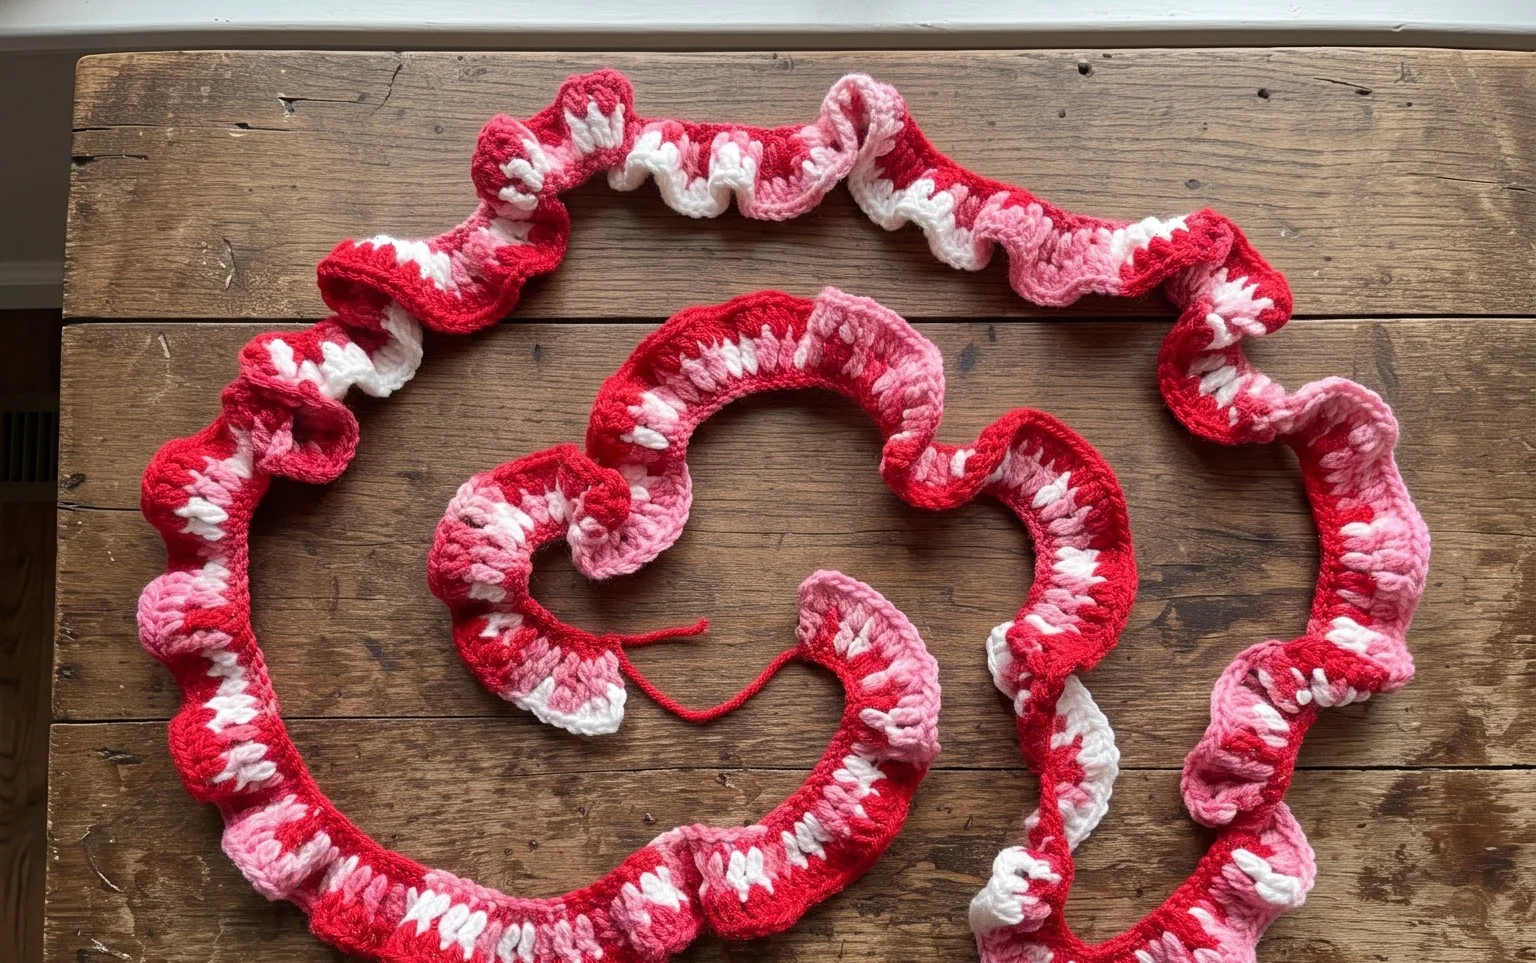
A string of classic granny squares turns your mantle into a cozy focal point during the winter months. These small, structured squares feel firm and satisfying in your hands, making them a great project for using up partial skeins of yarn tucked away in your craft bin. Whether you want to drape them over a window frame or string them along a bookshelf, this project provides a consistent rhythm that helps you master tension. You will learn how to build a sharp, square corner using standard stitches, ensuring each segment hangs perfectly straight once you join them all together.
Why You’ll Love This Pattern
The Classic Crochet Granny Square is the foundation of countless textile projects, from cozy blankets to lightweight summer garments. This specific pattern focuses on a traditional three-round square that builds a tight, consistent cluster without large gaps. Beginners appreciate the rhythm of the repeating chain spaces, while experienced makers value the speed at which these squares work up. Because each square uses only a small amount of yarn, it serves as an efficient way to clear out leftovers from your stash while practicing tension control.
I finally learned how to keep my corners square rather than rounded thanks to the clear instructions on chaining in this pattern. It is the perfect repetitive project for winding down in the evening.
— Sarah, hobbyist crocheter
Pattern Overview & Skill Level
- Skill Level: Beginner
- Approximate Time: 20 to 30 minutes per square
- Construction: Worked in joined rounds, starting from the center and expanding outward
- Finished Dimensions & Sizing: Approximately 4 inches square using worsted weight yarn and a 5.0 mm hook
Materials & Supplies Needed
- Yarn: Worsted weight (#4), 100% acrylic or wool blend, approximately 15 yards per square.
- Hook Size: 5.0 mm (US H-8) crochet hook.
- Notions needed: Yarn needle for weaving ends, sharp scissors.
- Safe yarn substitutions: You can use DK weight yarn with a 4.0 mm hook for a smaller, tighter square, or bulky weight yarn with a 6.0 mm hook for a larger, airier piece. Always adjust your hook size to ensure the fabric remains dense enough that light does not easily pass through the stitches.
Stitch Guide & Abbreviations (US Terms)
- ch = chain
- sl st = slip stitch
- dc = double crochet
- dc-cluster = a group of 3 dc stitches worked into the same space
- sp = space
- MR = magic ring (or ch 4 and sl st to the first chain to form a ring)
Step-by-Step Pattern Instructions
Granny Square Body
- Rnd 1: Start with a MR. Ch 3 (counts as first dc here and throughout), 2 dc into the ring, ch 2, *3 dc into ring, ch 2; repeat from * twice more. Join with a sl st to the top of the initial ch 3. (12 dc, 4 ch-2 spaces)
- Rnd 2: Sl st into the next 2 dc and into the first ch-2 corner space. Ch 3, 2 dc, ch 2, 3 dc into the same corner space. *Ch 1, (3 dc, ch 2, 3 dc) into the next ch-2 corner space; repeat from * twice more. Ch 1, join with a sl st to the top of the initial ch 3. (24 dc, 4 ch-2 spaces, 4 ch-1 spaces)
- Rnd 3: Sl st into the next 2 dc and into the first ch-2 corner space. Ch 3, 2 dc, ch 2, 3 dc into the same corner space. *Ch 1, 3 dc into the next ch-1 side space, ch 1, (3 dc, ch 2, 3 dc) into the next ch-2 corner space; repeat from * twice more. Ch 1, 3 dc into the final ch-1 side space, ch 1, join with a sl st to the top of the initial ch 3. (36 dc, 4 ch-2 spaces, 8 ch-1 spaces)
Finishing
After completing round 3, fasten off the yarn by pulling the tail through the final loop. Use a yarn needle to weave the tail end into the back of the dc-clusters. To block, mist the square with water and pin it to a foam mat in a perfect 4-inch square shape, allowing it to dry completely.
Care & Washing Instructions
- Hand wash in cool water using a mild wool-safe detergent to preserve the structure of the yarn fibers.
- Lay the square flat on a clean towel and reshape it to its original dimensions while damp to prevent distortion.
- Avoid using a tumble dryer, as high heat can shrink acrylic fibers and damage the integrity of the dc stitches.
Pro Tips & Common Mistakes to Avoid
Maintain consistent tension by ensuring your dc-clusters are pulled tight at the base. If your squares start to curl into a bowl shape, you are likely working your stitches too tightly; try moving up half a hook size. Always place a stitch marker in the top of your initial ch 3 of each round to avoid losing your place when joining. If you want to increase the size of the square, simply repeat round 3, adding an extra ch-1 space and 3 dc-cluster along each side for every additional round you work.
Frequently Asked Questions
Can I use cotton yarn for these squares?
Yes, cotton yarn works well for squares, though it has less stretch than acrylic. Expect the finished square to feel firmer and weigh slightly more.
Is this pattern suitable for a first-time crocheter?
Yes, the pattern only requires basic dc stitches and chains. It is a common first project for those learning how to work in rounds.
How do I join these squares together?
You can use a whip stitch or a single crochet join. Align the edges of two squares with the right sides facing each other and sew through the back loops only to create a flat seam.
Can I sell items made from this pattern?
You are welcome to sell finished items as long as you do not use my copyrighted photos or distribute this written pattern as your own. Please credit the original design when selling your work online.
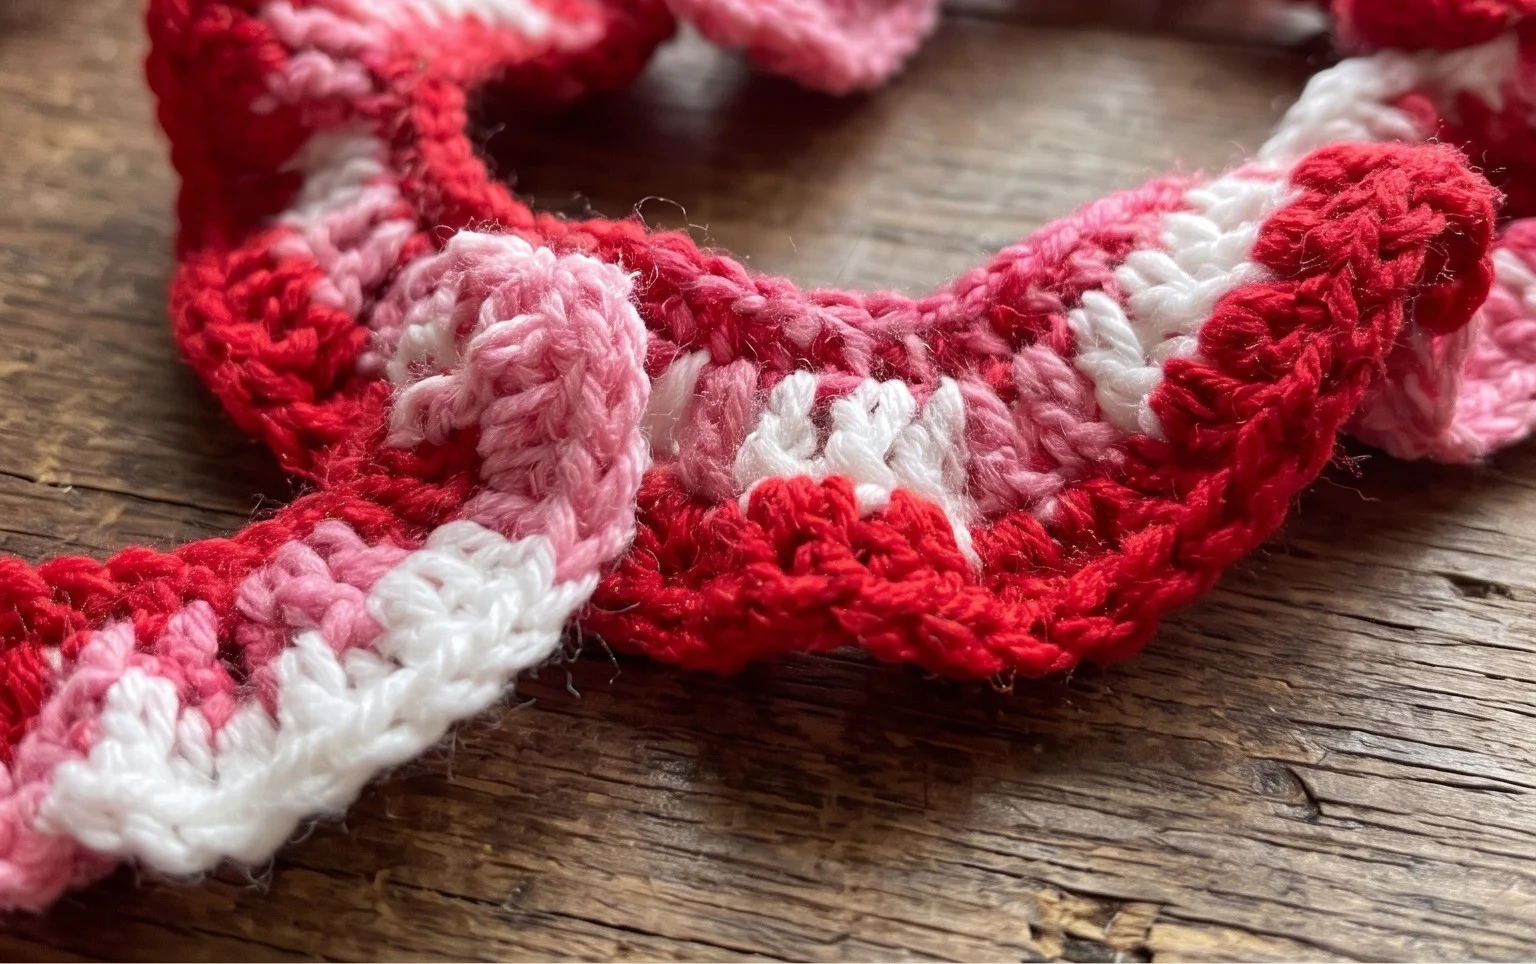
Your finished garland brings a soft, handmade texture to your home that store-bought decorations simply cannot match. If you want a more festive look, try using a metallic thread held alongside your main yarn for a subtle sparkle in the light. Snap a photo of your display and share it on Instagram to inspire other makers in the community. You can find more free patterns and seasonal project ideas by browsing the rest of the blog archives for your next creative afternoon.