Coffee Bean Slouchy Beanie: Free Beginner Crochet Pattern
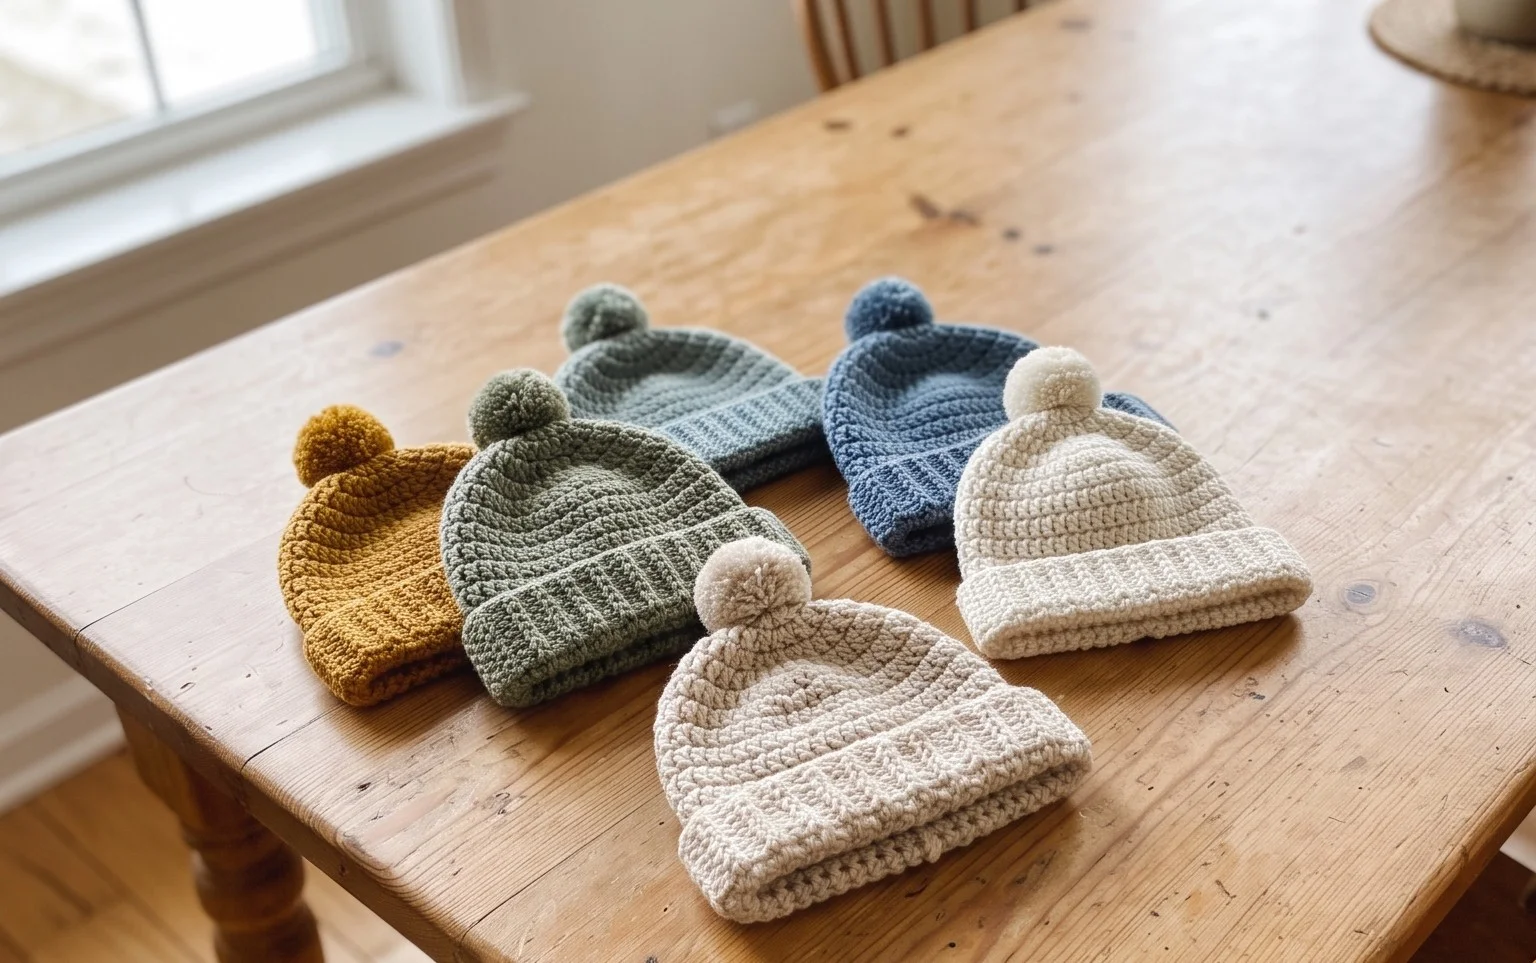
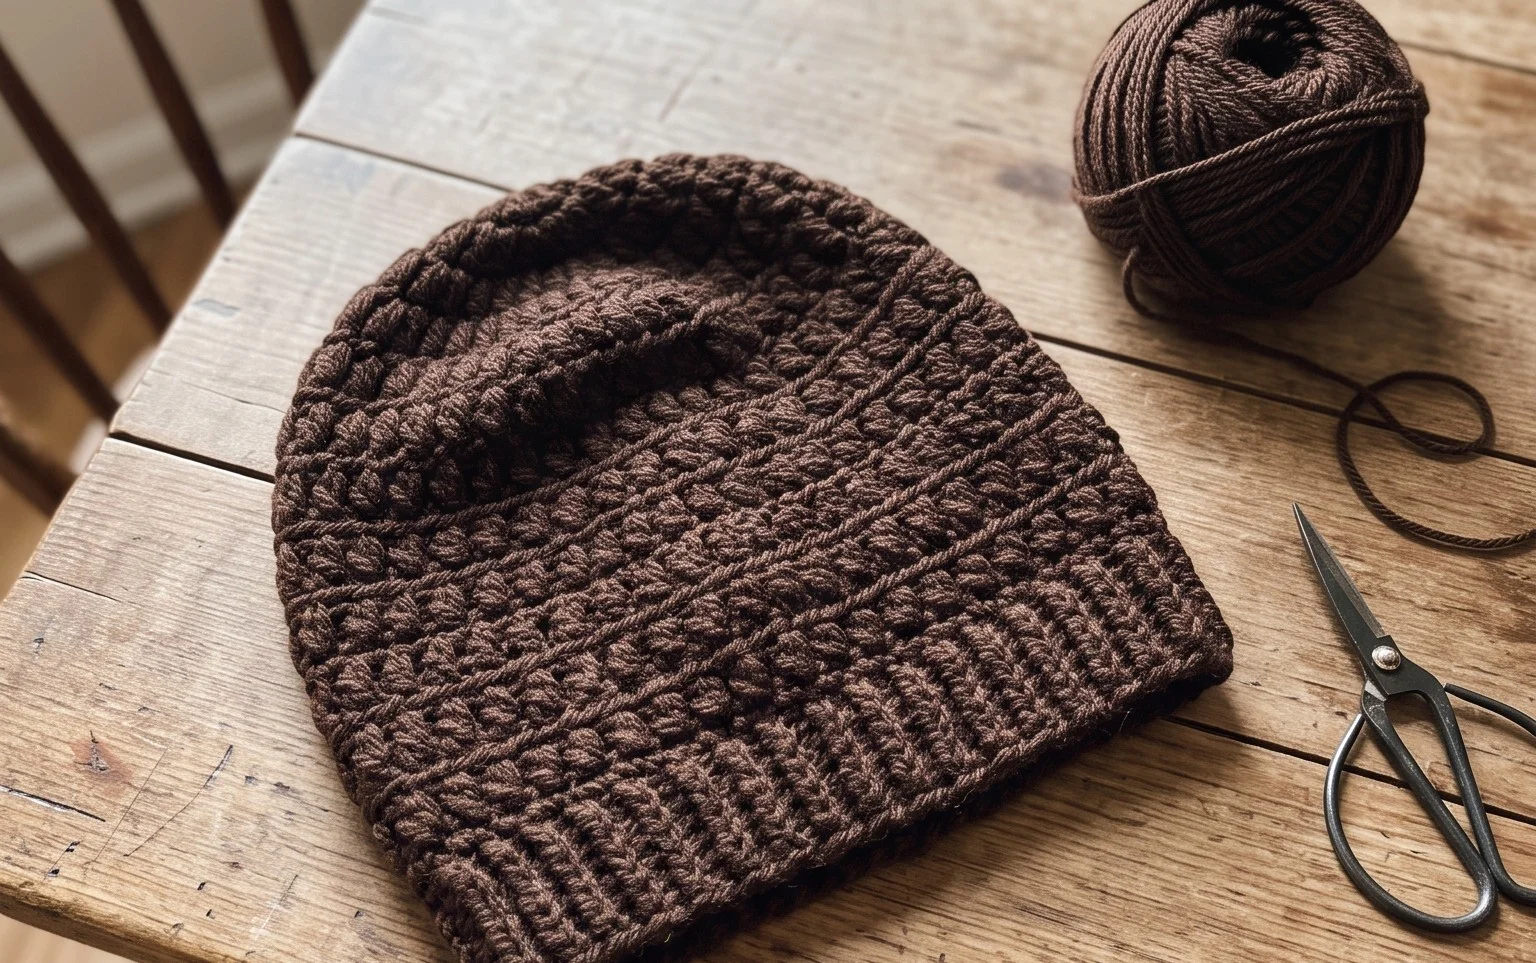
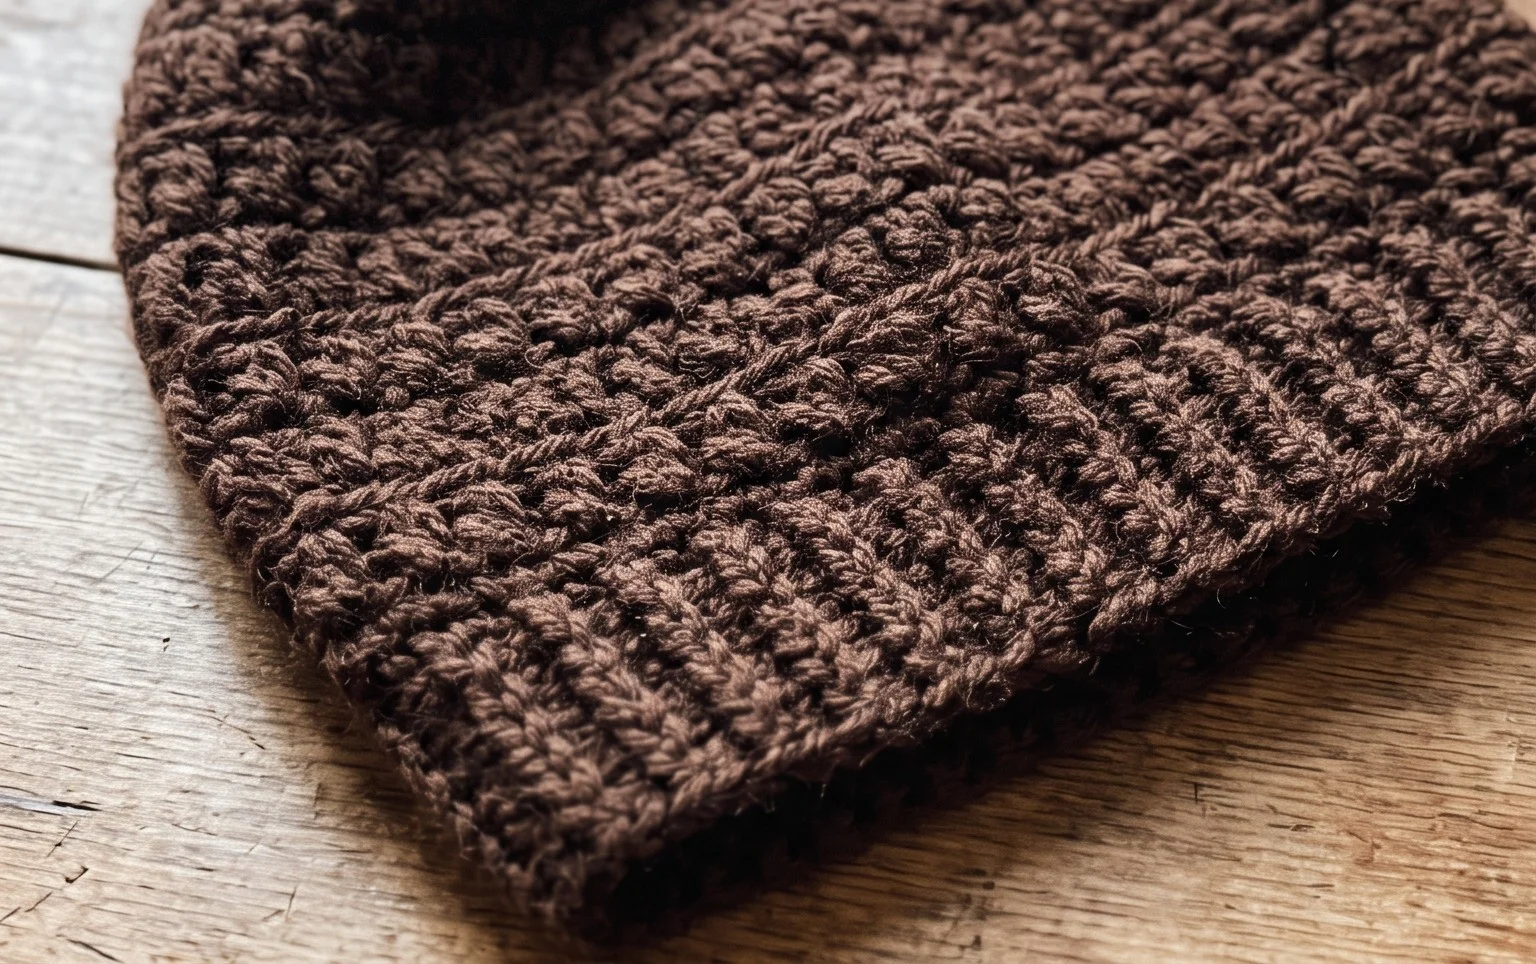
This beanie has a soft, squishy texture that resembles tiny coffee beans when worked in rounds. It sits comfortably over the ears without feeling too tight, making it a reliable staple for chilly morning commutes or walks in the park. Beginners will appreciate how the simple repeat pattern builds confidence while creating a professional garment that looks like it came from a boutique. You will master the fundamental post stitch techniques that give this hat its signature dense, warm fabric. Whether you need a handmade gift or a quick personal project, this hat works up beautifully in just a few hours.
Why You’ll Love This Pattern
This classic crochet beanie works up quickly using a simple ribbed construction that creates a fitted, professional look. The combination of post stitches creates a dense fabric with excellent thermal properties, making it an ideal choice for cold weather. Because it is worked flat as a rectangle and then seamed, you can easily adjust the width and height to fit any head size. The design relies on basic stitches, ensuring that even a crocheter with limited experience can achieve a polished, store-bought finish.
I managed to finish this hat in a single evening while watching a movie. The ribbed texture is much stretchier than I expected, and it fits perfectly without being too loose or tight.
— Sarah, hobbyist crafter
Pattern Overview & Skill Level
- Skill Level: Beginner
- Approximate Time: 3 to 4 hours
- Construction: Flat rectangle worked in rows, seamed to form a tube, and gathered at the crown.
- Finished Dimensions: 9 inches tall by 18 inches circumference (unstretched), fits an average adult head.
Materials & Supplies Needed
- Yarn: Worsted weight (#4), 100% acrylic or wool blend, approximately 200 yards.
- Hook Size: 5.5 mm (US I-9).
- Notions: Yarn needle with a large eye, stitch markers, and scissors.
- Safe Yarn Substitutions: You may use cotton yarn, though it will be heavier and lack the natural elasticity of wool or acrylic blends. Using a lighter weight yarn will result in a smaller hat, while bulky yarn will require reducing your starting chain length.
Stitch Guide & Abbreviations (US Terms)
- ch: chain
- st: stitch
- sl st: slip stitch
- hdc: half double crochet
- BLO: back loop only. Insert hook through the back loop of the stitch instead of both loops to create ribbing.
- dec: decrease (skip a stitch or work two stitches together as instructed).
Step-by-Step Pattern Instructions
Beanie Body
The hat is worked in rows to create a ribbed rectangle. This piece will be folded in half and seamed.
- Row 1: Ch 40. Hdc in the second ch from hook and in each ch across. Ch 1, turn. (39 sts).
- Row 2: Hdc in BLO of every st across. Ch 1, turn. (39 sts).
- Rows 3-60: Repeat Row 2 until the piece measures approximately 18 inches long when slightly stretched.
- Finishing the body: Do not fasten off after the final row.
Assembly and Finishing
- Seaming: Fold the rectangle in half so the two short ends meet. Sl st or use a whip stitch to join the two edges together, working through the front loops of both sides to create a tube. Fasten off.
- Closing the Crown: Cut a 12-inch length of yarn. Using your yarn needle, weave the tail in and out through the stitches along the top edge of the tube. Pull the yarn tail tight to gather the top closed. Secure with a knot on the inside.
- Weaving Ends: Turn the hat inside out if desired to hide the seam. Secure and trim all remaining yarn ends.
Care & Washing Instructions
- Machine wash your beanie on a gentle cycle in cool water with mild detergent.
- Lay the item flat on a towel to air dry, reshaping it while damp to maintain the ribbed silhouette.
- Avoid using high heat during drying or ironing, as this can permanently damage the fiber structure and elasticity of synthetic or wool yarns.
Pro Tips & Common Mistakes to Avoid
Keep your tension consistent, especially when working the BLO rows, to ensure the ribbing looks uniform throughout the hat. Use a stitch marker at the beginning of each row to help you track your row count, which prevents accidentally adding or dropping rows. To weave in your ends invisibly, follow the direction of the yarn fibers rather than cutting across the stitches, as this prevents the knots from working loose over time. If you need to adjust the size, add or subtract foundation chains to change the height, and add or subtract rows to change the head circumference; note that each row represents about 0.3 inches of width.
Frequently Asked Questions
Can I use a different hook size for this project?
Yes, but changing the hook size will alter the gauge. A smaller hook will produce a tighter, denser fabric, while a larger hook will make the hat softer and more loose-fitting.
Is this pattern suitable for complete beginners?
Yes, this is an excellent starter project because it only uses the half double crochet stitch worked in the back loop, which is a foundational skill for ribbing.
How do I make the hat larger for a bigger head size?
Simply add more rows during the construction phase until the rectangle reaches your desired circumference, ensuring the total row count remains an even number if you are joining specific edges.
Can I sell the hats I make from this pattern?
You are welcome to sell finished items made from this pattern, provided you credit the designer and use your own photographs for your listings.
Your new handmade hat is ready to keep you warm during the coldest months of the year. Try using a variegated wool blend yarn next time to make those unique stitch patterns pop even more against the background. Please share a photo of your finished work on social media so others can see your color choices in action. You can find more free patterns and seasonal projects waiting for you on the main blog page, so keep your hook moving and enjoy your next creative project.