Oogie Boogie Crochet Pouch: Easy Beginner Pattern Guide
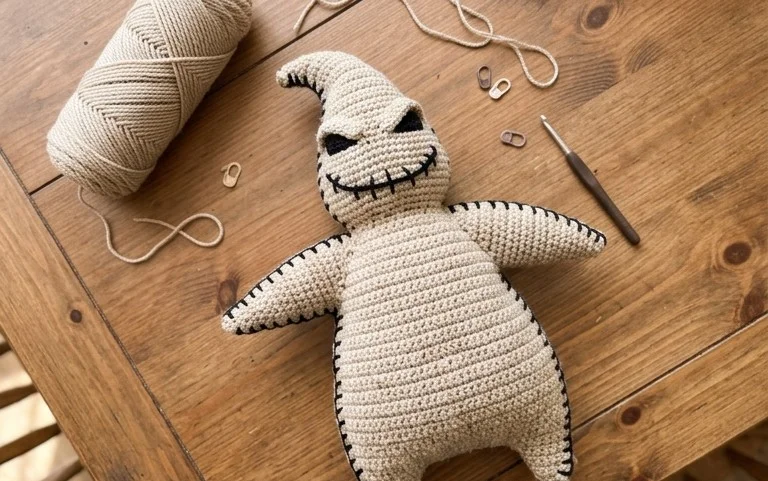
This crochet pouch features a dense, sturdy texture that keeps its shape even when stuffed with heavy metal stitch markers or loose change. Its surface has a slightly bumpy rhythm from the continuous spiral rounds, providing a tactile experience that helps beginners track their progress without losing count. Whether you are prepping for a movie night or building a collection of handmade gifts, this small project offers a relaxing break from larger, more taxing blankets or garments. You will learn how to maintain consistent tension while transitioning from a flat circular base into a cylindrical body using simple increases, setting you up for success with future round crochet projects.
Why This Project Is Worth Making
This simple crochet drawstring pouch uses the classic single crochet stitch worked in a continuous spiral, making it an ideal entry point for those wanting to practice working in the round. Because the pattern relies on basic increases and decreases, you can focus entirely on maintaining even tension without worrying about complex lace or bobble stitches. The compact size makes it a quick project that typically requires less than one skein of standard yarn, which is excellent for clearing out leftover stash. Once completed, the pouch acts as a versatile container for notions, jewelry, or small handmade gifts.
I managed to finish this pouch in a single afternoon while watching a movie. The instructions were easy to follow and the size is perfect for keeping my stitch markers organized in my project bag.
— Sarah, hobbyist crocheter
Pattern Overview & Skill Level
- Skill Level: Beginner
- Approximate Time: 2 to 3 hours
- Construction: Worked in continuous rounds from the bottom up, finishing with a row of eyelets for the drawstring
- Finished Dimensions & Sizing: 4 inches wide by 5 inches tall when laid flat
Materials & Supplies Needed
- Yarn: Worsted weight (#4), 100% cotton, approximately 80 yards. Cotton provides the structure necessary for a sturdy pouch.
- Hook Size: 4.5 mm / G-7. This hook size creates a tight fabric that prevents small items from falling through.
- Notions: Tapestry needle for weaving in ends, a locking stitch marker for tracking the start of rounds, and a pair of scissors.
- Safe yarn substitutions: You may use acrylic yarn of the same weight, though the pouch will feel softer and have more stretch than a cotton version. Avoid using roving or loosely spun wool, as these fibers will pill rapidly with the friction of the drawstring.
Stitch Guide & Abbreviations (US Terms)
- MR: Magic Ring. Used to start the circular base.
- ch: Chain.
- sc: Single crochet. Insert hook, yarn over, pull up a loop, yarn over, pull through both loops.
- inc: Increase. Work 2 sc into the same stitch.
- dec: Decrease (sc2tog). Insert hook into front loop of next two stitches, yarn over, pull through, yarn over, pull through two loops.
- sl st: Slip stitch.
- YO: Yarn over.
- st/sts: Stitch/stitches.
Special Stitch: Eyelet Row
The eyelet row is created by working (ch 1, skip 1, sc 1) repeated around. This creates the holes through which you thread your cord.
Step-by-Step Pattern Instructions
Pouch Base and Body
- Rnd 1: Work 6 sc into a MR. (6 sts)
- Rnd 2: Work 2 sc in each st around. (12 sts)
- Rnd 3: 1 sc, inc 6 times. (18 sts)
- Rnd 4: 2 sc, inc 6 times. (24 sts)
- Rnd 5: 3 sc, inc 6 times. (30 sts)
- Rnd 6: 4 sc, inc 6 times. (36 sts)
- Rnds 7–20: Work even in sc in each st around. (36 sts)
Eyelet Row and Finishing
- Rnd 21: sc 1, ch 1, skip 1 18 times. (18 sc, 18 ch-spaces)
- Rnd 22: Sc in each sc and each ch-space around. (36 sts)
- Finishing: Sl st to the first stitch to join. Fasten off leaving an 8-inch tail. Weave the end securely into the interior of the pouch.
Drawstring Cord
Create a chain of 60 stitches. Fasten off. Weave this cord in and out through the eyelet holes in Rnd 21. Knot the ends together to prevent the cord from slipping out.
Care & Washing Instructions
- Hand wash your finished pouch in cool water with a gentle detergent to maintain the integrity of the cotton fibers.
- Lay the item flat on a clean towel to air dry, reshaping it gently with your hands while damp.
- Avoid using a tumble dryer, as heat can cause cotton to shrink significantly and lose its original dimensions.
Pro Tips & Common Mistakes to Avoid
- Maintain consistent tension by holding your yarn with a steady grip. If your stitches look loose, try dropping down to a 4.0 mm hook to tighten the fabric.
- Always place a stitch marker in the first stitch of every round. Working in a continuous spiral makes it easy to lose track of where one round ends and the next begins.
- Weave your ends back and forth through the stitches at least three times in different directions to ensure they do not come undone with regular use.
- Adjusting the size is simple; add more increase rounds to the base to make the pouch wider or work more even rounds in the body to make it taller. Note that increasing size will require more than the suggested 80 yards of yarn.
Frequently Asked Questions
Can I substitute the cotton yarn with wool?
Yes, you can use wool, but be aware that wool has more elasticity. The pouch may stretch out of shape faster than a cotton version if you store heavy items inside.
Is this pattern suitable for someone who has never crocheted before?
This is a great beginner project. You only need to know how to create a magic ring, single crochet, and how to increase, all of which are fundamental skills that translate to almost any other crochet project.
Can I sell the pouches I make from this pattern?
You are welcome to sell finished items made from this design. Please check your local laws regarding handmade goods and consider including a tag with your own care instructions.
What should I do if my pouch base starts to curl upward like a bowl?
Curling usually happens if you are not increasing enough stitches. Ensure you have the full 36 stitches by the end of Round 6. If it still curls, you may need to loosen your tension on the increase rounds.
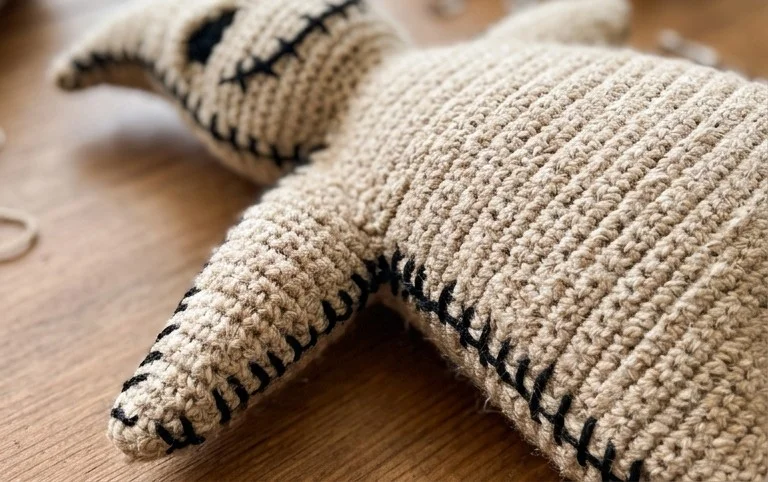
Seeing your handmade pouch take shape on your hook provides a sense of accomplishment that simple store-bought bags just cannot replicate. You might try using neon green acrylic yarn for a bolder look or increasing the number of base rounds if you need a slightly larger container for your smartphone. Please consider uploading a photo of your finished work to your preferred social media platform so others can see your color choices. I encourage you to browse our archive for more free patterns to fill your next afternoon project slot.