Easy Crochet Square Patterns: Free Step-by-Step Designs
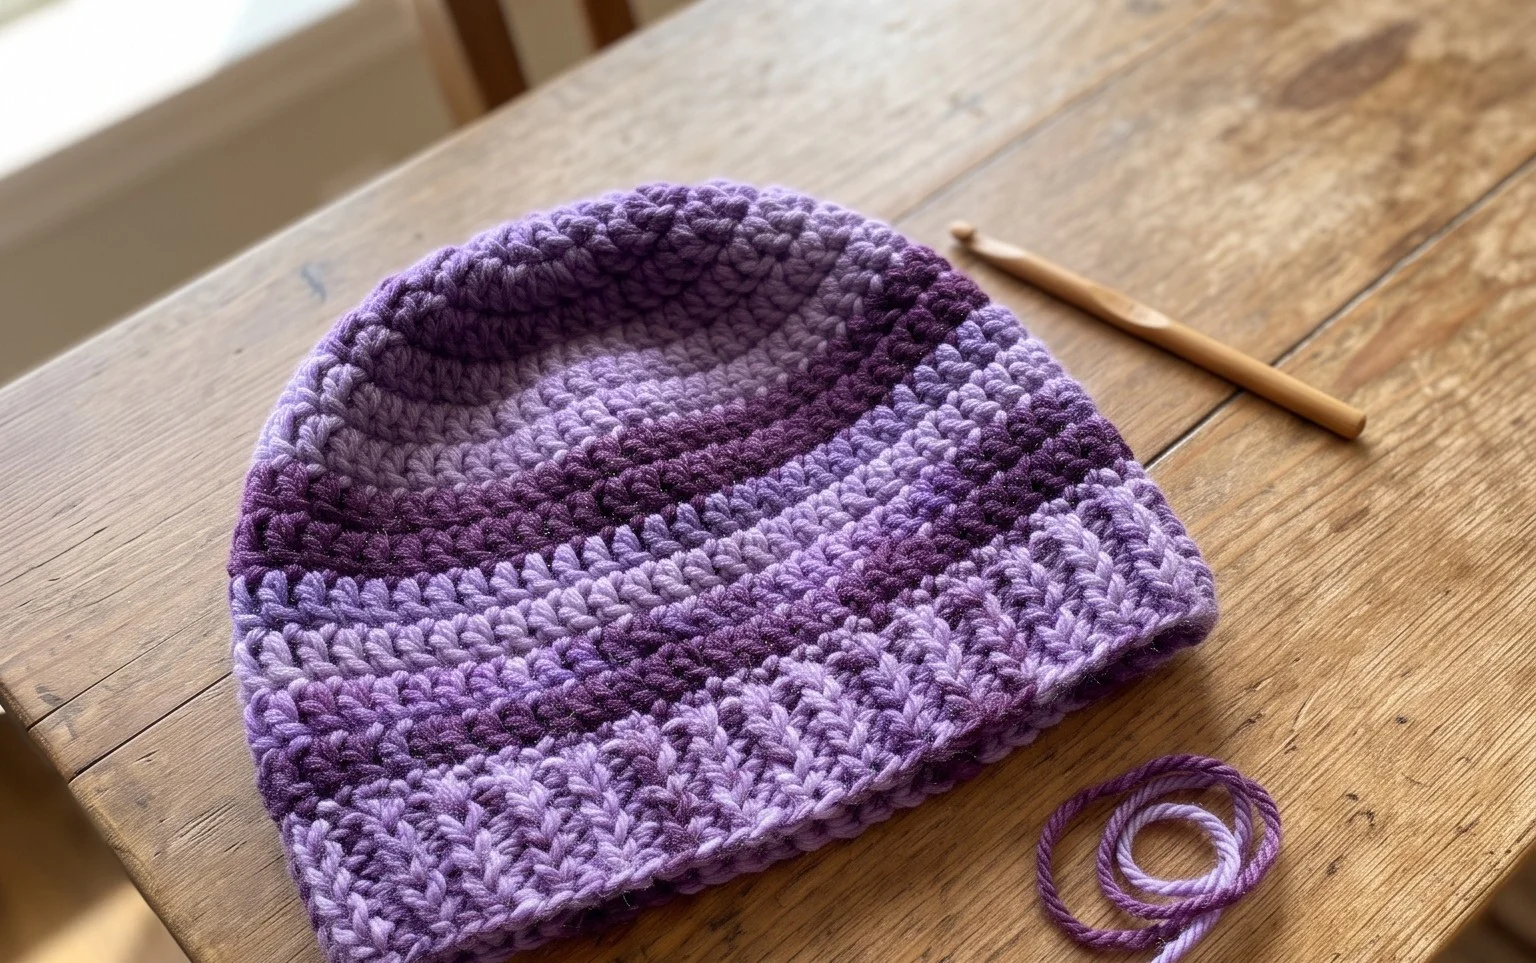
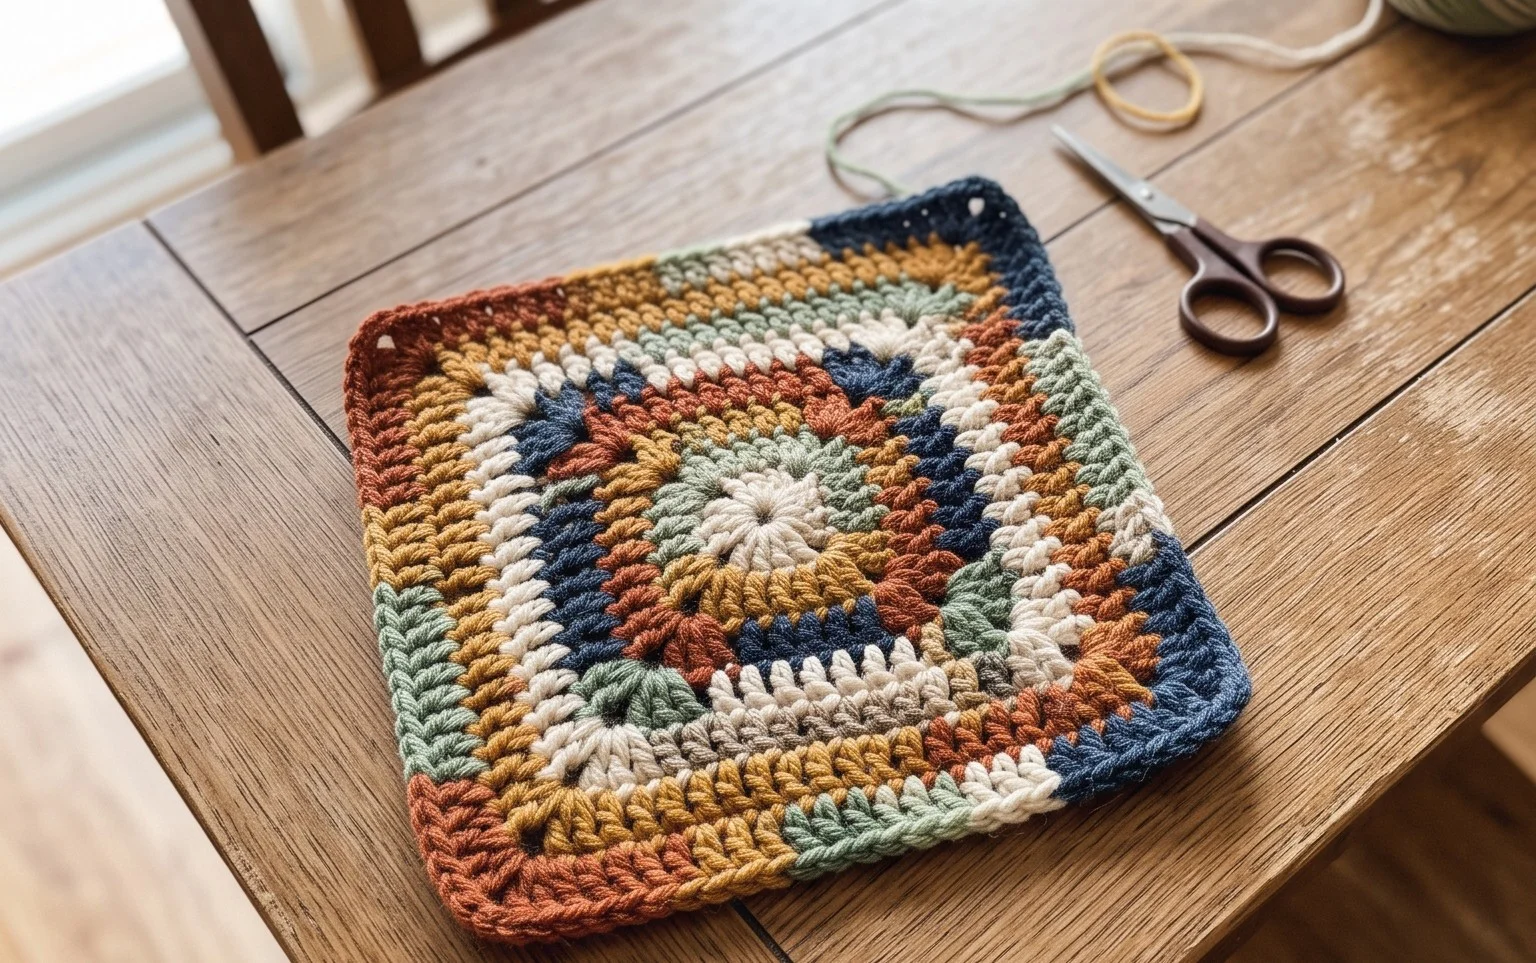
Stiff cotton squares have a crisp, satisfying weight that makes them versatile enough for everything from a thick stack of coasters to a patchwork blanket. These small builds are gentle on your wrists and help you practice tension consistency without committing to a massive garment. You will find that mastering basic stitches like the half-double crochet or the classic granny cluster turns a simple pile of yarn into a polished piece for your home. We focus on clear layouts and repetitive, relaxing counting patterns that help you build rhythm while creating functional items you will use every day.
Why You’ll Love This Pattern
This simple crochet drawstring pouch uses a sturdy single crochet base that keeps small items secure and organized. The structure is built using a tight stitch gauge, which ensures that coins, jewelry, or notions do not slip through the fabric. It is a quick project that works up in under two hours, making it an ideal choice for using up leftover cotton yarn from larger projects. Because it relies on basic increases and continuous rounds, it is an accessible challenge for someone looking to move beyond flat squares and into three-dimensional construction.
I managed to finish this pouch in a single afternoon using a scrap ball of cotton. The instructions were easy to follow and the drawstring closure is very reliable for keeping my stitch markers tucked away inside.
— Sarah, hobbyist crocheter
Pattern Overview & Skill Level
- Skill Level: Beginner
- Approximate Time: 1.5 to 2 hours
- Construction: Worked in continuous spiral rounds for the base and body, with a row of eyelets for the drawstring cord.
- Finished Dimensions: 4 inches tall by 3 inches wide when lying flat.
Materials & Supplies Needed
- Yarn: Worsted weight (#4) 100% cotton yarn, approximately 40 yards. Cotton is preferred for its lack of stretch and durability.
- Hook Size: 4.0 mm (G-6) crochet hook.
- Notions: Yarn needle for weaving in ends, a stitch marker for marking the start of rounds, and scissors.
- Yarn Substitutions: You can use acrylic yarn, though the pouch will be slightly softer and may stretch more over time. Wool yarn will create a thicker, warmer pouch but requires hand-washing.
Stitch Guide & Abbreviations (US Terms)
- MR = Magic Ring
- ch = Chain
- sc = Single crochet
- inc = Increase (2 sc in the same stitch)
- sl st = Slip stitch
- yo = Yarn over
- st/sts = Stitch/stitches
- Special Stitch: The eyelet round is created by working a ch-2, skipping one stitch, and placing an sc in the next stitch to create the space for the drawstring.
Step-by-Step Pattern Instructions
Pouch Base and Body
The base is worked in a circular increase pattern. Use a stitch marker to track the first stitch of every round.
- Rnd 1: Start 6 sc into a magic ring (6 sts).
- Rnd 2: Inc in each st around (12 sts).
- Rnd 3: [Inc, sc in next st] 6 times (18 sts).
- Rnd 4: [Inc, sc in next 2 sts] 6 times (24 sts).
- Rnd 5: [Inc, sc in next 3 sts] 6 times (30 sts).
- Rnd 6-18: Sc in each st around (30 sts).
Eyelet Row and Finishing
- Rnd 19: [Ch 2, skip 1 st, sc in next st] 15 times. Join with a sl st to the first sc (15 spaces).
- Rnd 20: Sc in each ch and sc around (30 sts). Fasten off and weave in all ends.
Drawstring Cord
Create the drawstring by chaining 60 stitches. Fasten off and leave a tail long enough to weave through the eyelets. Weave the chain through the eyelets created in Rnd 19 and tie the ends together in a knot.
Care & Washing Instructions
- Hand wash in cool water with a mild detergent to maintain the shape of the cotton fibers.
- Lay the pouch flat on a clean towel to air dry completely, away from direct sunlight.
- If the pouch loses its shape, lightly dampen the fabric and reshape it with your hands before letting it dry.
Pro Tips & Common Mistakes to Avoid
- Maintain a consistent tension throughout the body of the pouch; if your stitches are too loose, the fabric will lose its ability to hold small items.
- Always place a stitch marker in the first stitch of every round to avoid losing count during the long straight section of the body.
- When weaving in your ends, run the yarn through the inside of the stitches in two different directions to ensure the tail remains hidden and secure after heavy use.
- To adjust the size, simply add or subtract rounds before the eyelet row, keeping in mind that each additional round will require approximately 5 extra yards of yarn.
Frequently Asked Questions
Can I use a larger hook for this pattern?
Using a larger hook will result in a larger, looser pouch. If you use a larger hook, you may need more yarn and the final fabric will have larger gaps between stitches.
Is this project suitable for a total beginner?
Yes, this project only requires the ability to create a magic ring, work single crochet stitches, and perform basic increases. It is a manageable size for learning these skills.
Can I sell the pouches I make from this pattern?
Please check the original designer’s specific terms regarding commercial use. Most designers allow small-scale sales if you credit them as the pattern creator.
What is the best way to substitute the drawstring?
If you prefer not to crochet a chain, you can use a piece of cotton ribbon, leather cord, or a sturdy piece of twine that matches the color of your yarn.
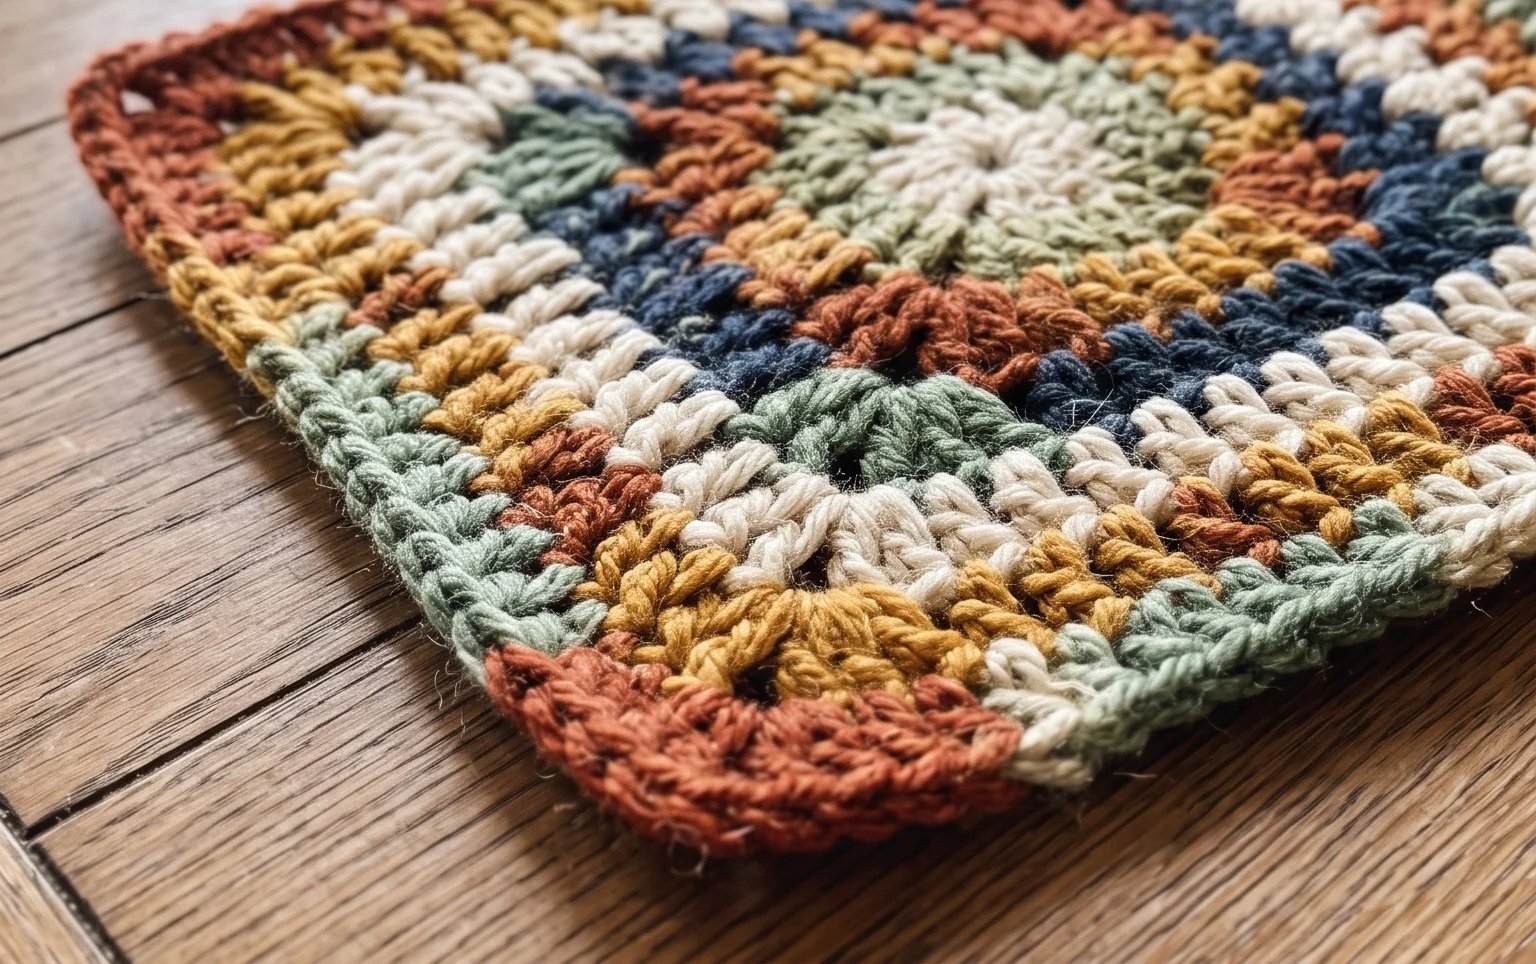
Your finished square now adds a practical, handmade touch to your living space or functions as a sturdy base for future projects. Try holding two strands of yarn together for a thicker, more cushioned texture or change your colors every round to use up those smaller scraps sitting in your bin. Posting a photo of your work on social media helps others find inspiration for their own yarn stash. Visit the rest of our pattern library to find more projects that help you grow your skills with every single stitch.